Expenses & OCR
Upload photos of receipts and let OCR extract the details automatically. Categorize expenses, review parsed data, and optionally create spool entries from filament purchases.
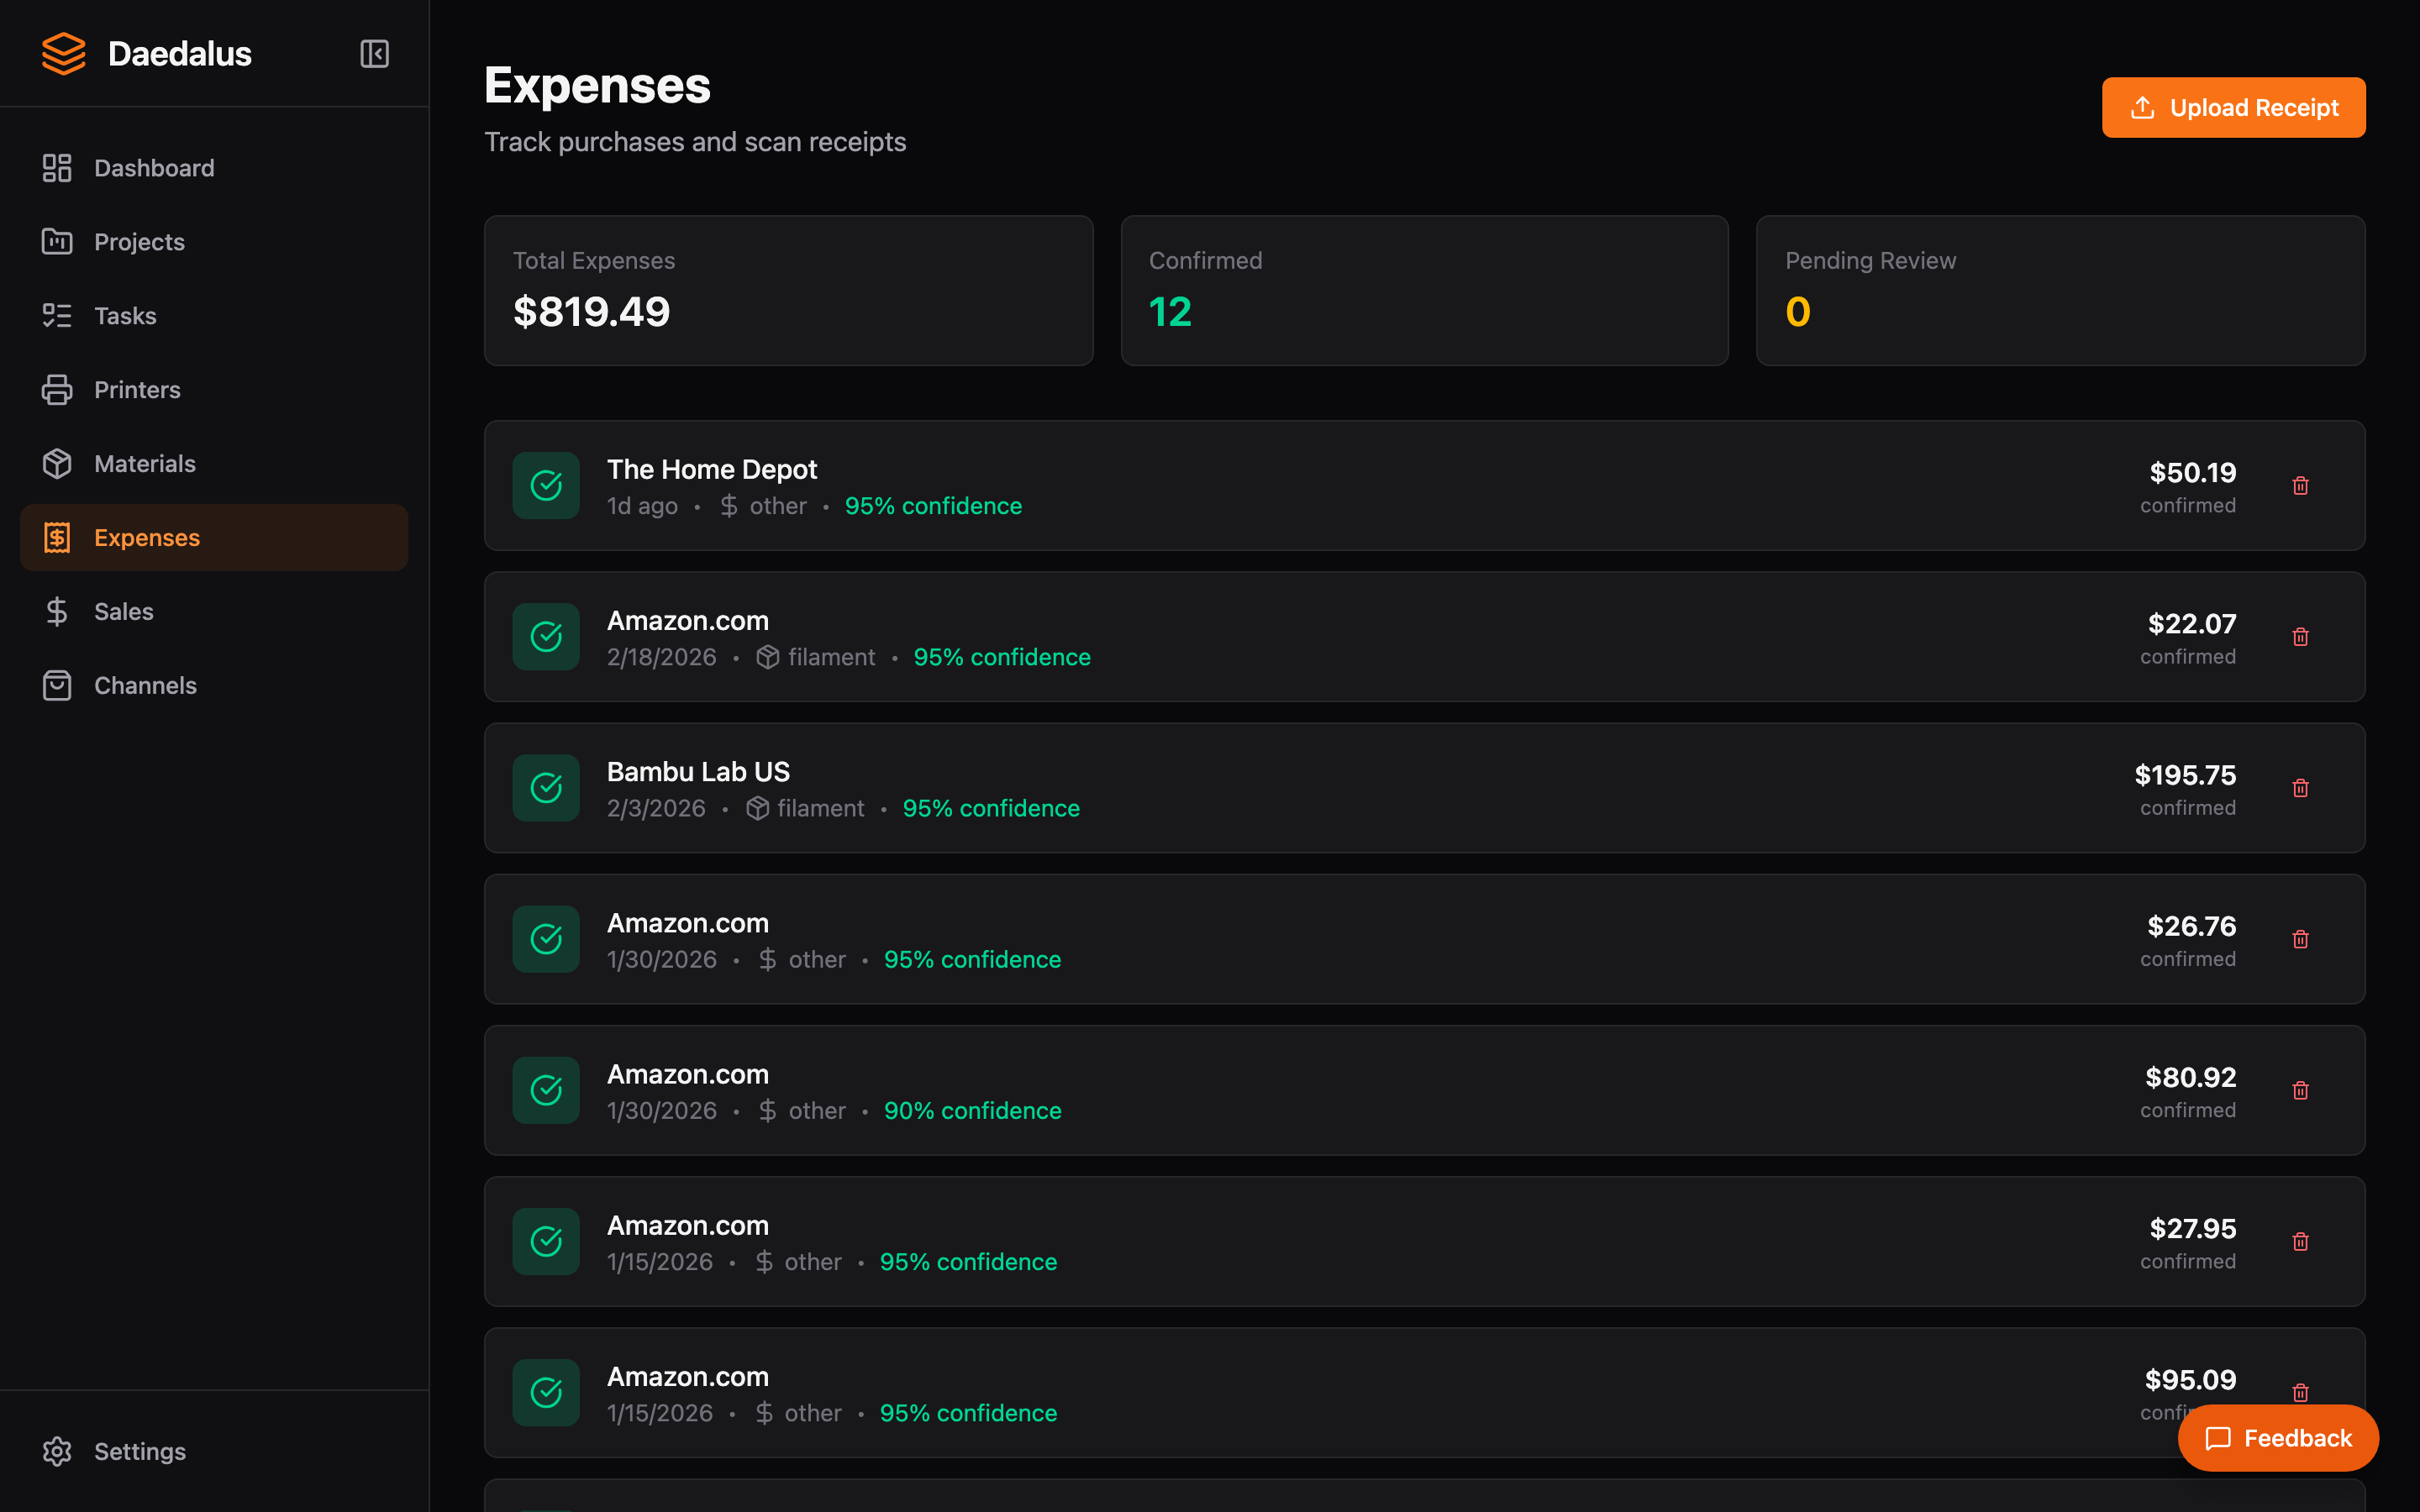
Overview
The Expenses page tracks all business spending across 8 categories. The standout feature is OCR receipt parsing — snap a photo of any receipt and Daedalus extracts vendor, amount, date, and individual line items.
Receipt Upload & OCR
- Click Upload Receipt and select an image file (JPG, PNG, or PDF)
- Daedalus runs OCR processing to extract receipt data
- Review the parsed results: vendor name, total amount, date, and line items
- Each extracted field shows a confidence score so you know when to double-check
- Edit any fields that need correction, then confirm to save
Retry OCR
If the initial OCR results are poor (blurry image, unusual format), you can retry the processing. Click Retry OCR to re-run extraction on the same image.
Expense Categories
| Category | Examples |
|---|---|
| Filament | PLA, PETG, ABS spools |
| Parts | Screws, magnets, inserts, hardware |
| Tools | Nozzles, build plates, scrapers |
| Shipping | Postage, packaging materials, labels |
| Fees | Marketplace transaction fees, payment processing |
| Subscriptions | Software licenses, cloud services |
| Advertising | Etsy ads, social media promotion |
| Other | Anything that doesn't fit the above |
Auto-Spool Creation
When you categorize an expense as Filament, Daedalus can automatically create spool entries in your material inventory:
- After confirming the OCR results, Daedalus detects filament line items
- For each filament item, it suggests a new spool entry with the parsed details
- Review and confirm to add the spools to your inventory
- The expense and spool entries are linked for accurate cost tracking
Manual Expense Entry
You can also add expenses manually without a receipt:
- Click Add Expense
- Enter the vendor, amount, date, and category
- Add optional notes or line item details
Tip: For best OCR results, photograph receipts on a flat surface with good lighting. The entire receipt should be visible and in focus.